
Why is it so difficult to find good online information about varnishing technique?
Generally, I'll turn to Google to look up tips and tricks for various skills. I'm a believer in never knowing enough about any particular subject - I enjoy learning more about my interests and hobbies. Though there are rare instances when I'll try to purposely avoid looking up things on Google - health issues, for example. When I 'self diagnose' via the internet I invariably become convinced I'm dying of a rare and disturbing condition (I haven't yet).
Mentioning concerns from 'things I read online' to my doctor resulted in the one and only time I've seen him do an 'eye roll'... It went something like: "No, that lump on your arm isn't cancer, don't believe everything you read online (*eye roll*)." And believe me, when you're going through gender transition, you have all kinds of doctor appointments and random symptoms / side effects. Ug.
Health issues and questions aside, I usually have pretty good luck looking for information regarding a specific skill or process. In this case, I was searching for ways to improve my varnishing technique.
I've been using various kinds of varnish (and other finishing techniques) for years - but, as I mentioned earlier, I like to occasionally look around and see what kinds of 'tips and tricks' others may have come up with. And where better to look then the vastness of the internet.
Just to make sure everyone is on the same page, varnish is a finishing agent used to protect and beautify lumber (and sometimes other materials). Layering varnish onto raw wood builds up a protective coating and can add a nice sheen (satin, semi-gloss, gloss, etc.) to the project. Lumber that is left unfinished can be damaged by moisture and physical abuse. Varnish will mitigate some of that damage. Nail polish is a kind of varnish (see my post), so some of you may have experience with varnish and not even know it. :)
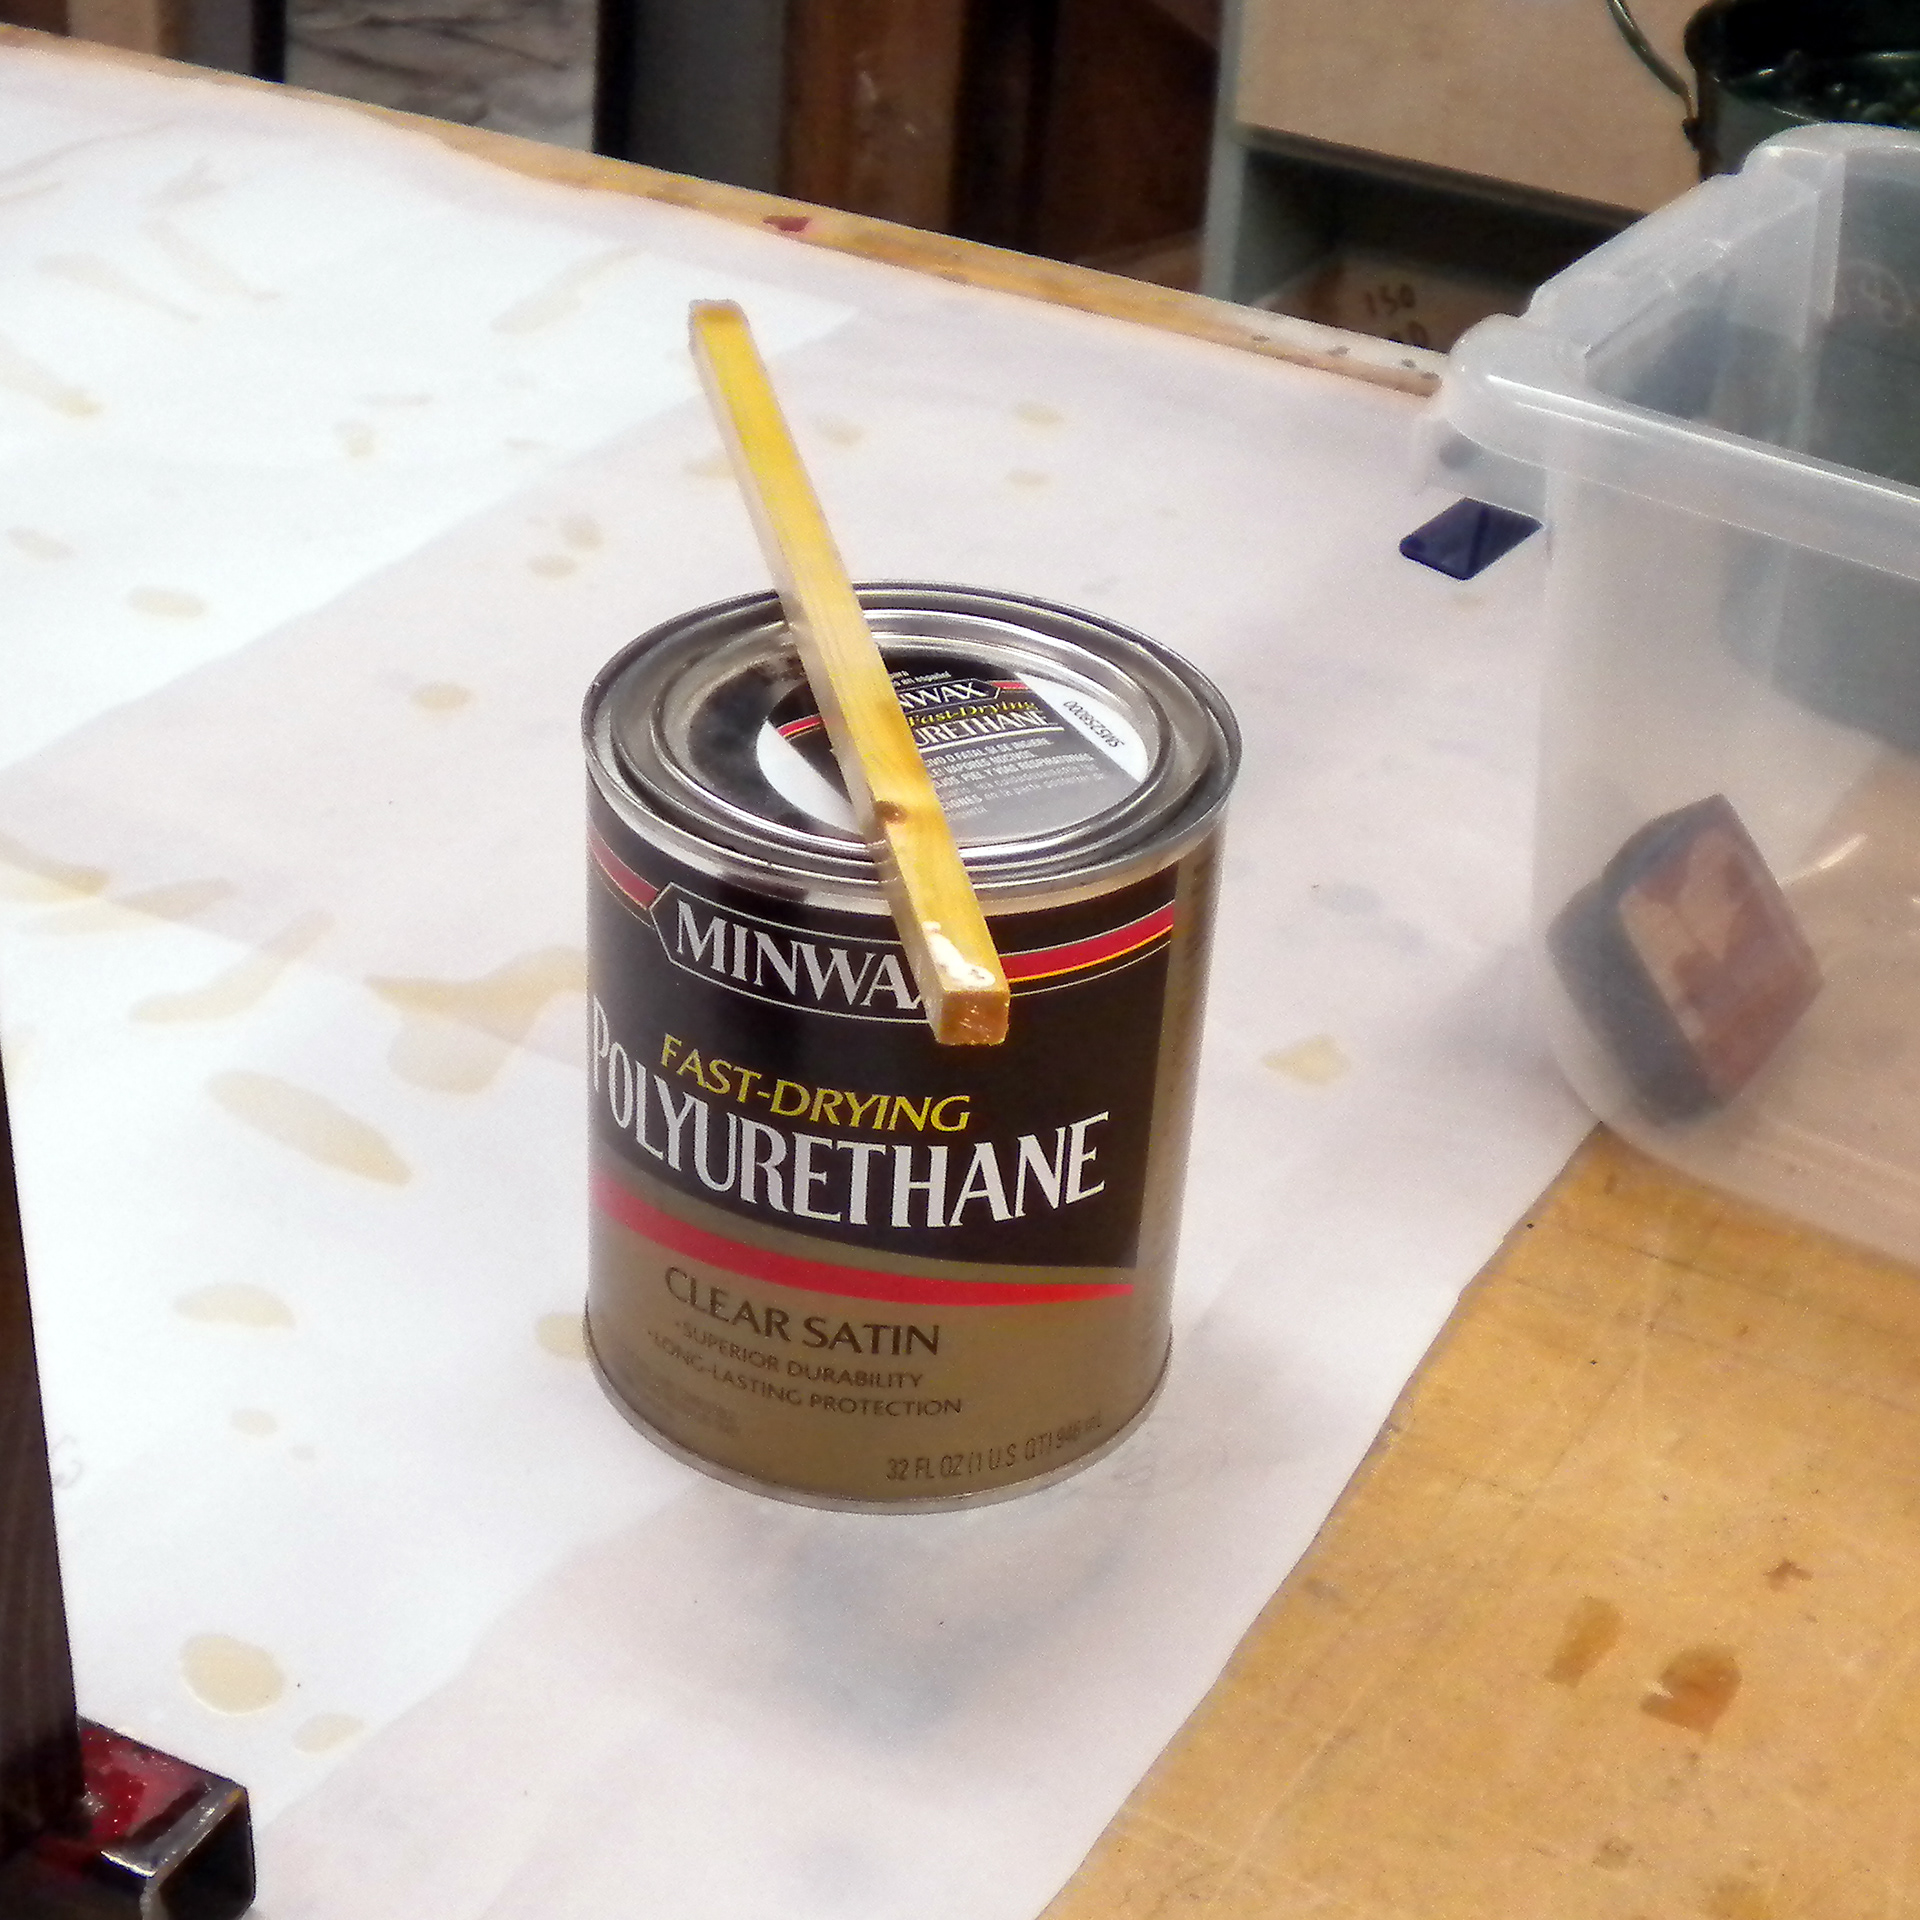
Not all varnish is created equally - there are different kinds, containing different chemicals and used for different purposes. Other varnish-like finishes also exist - for example, shellac, lacquer, boiled linseed oil, etc. However, for the purposes of this post, I'll stick to the varnish group. Specifically, I'll stick to what I have the most personal experience using: oil-based polyurethane varnishes (a very common type - with Minwax being a very common brand).
Back to the varnish 'tips and tricks'...
I found very little out there. Or, at least, very little that was new or useful. In fact, I found much outdated information that makes the process of applying varnish to a workshop project sound more dire and difficult then it needs to be.
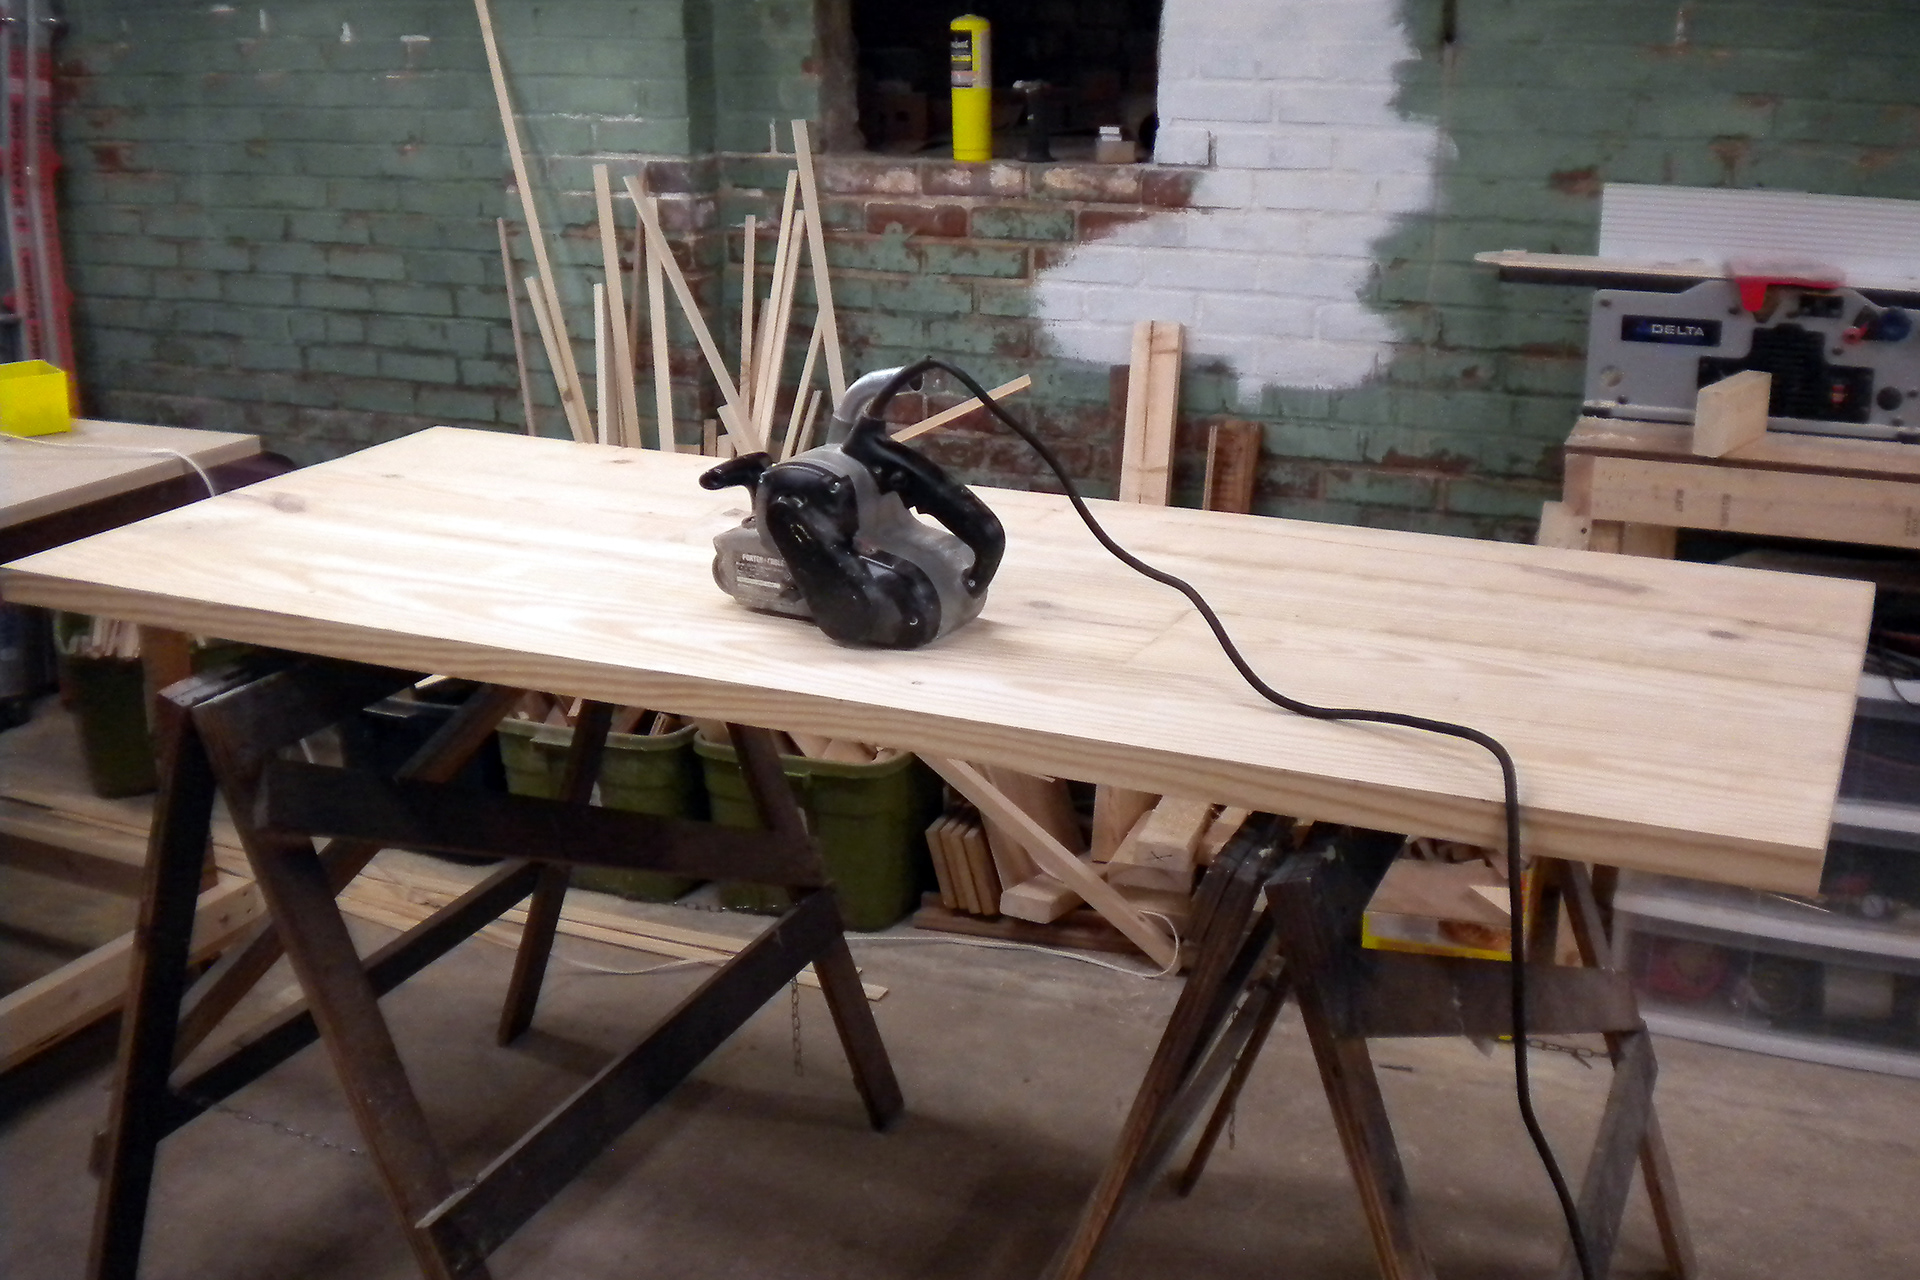
One of the specific questions I asked Dr. Google was 'applying varnish to a large surface' - this is in regards to varnishing tables and other large horizontal surfaces. I have a dining room table to varnish soon, and I always get nervous about varnishing such a large surface. I'd hate to ruin 25+ hours of work by fucking up the last step (pardon the language, but if I mess up the varnish you'll hear much worse...). I've never messed up a table surface before, but in the spirit of learning new things, I wanted to see if there were any good ideas out there to lessen the chances of bad language.
And yes, there are certainly ideas out there - but precious little that I found overly helpful. No clever, age-defining 'tips or tricks' about varnishing table tops. Lots of boring, vaguely informative, sometimes confusing, and generally unhelpful webpages. It's almost like the skill of applying varnish is a special ability that can only be practiced by a select few. An, perhaps, 'evil Varnish Cabal' dedicated to making it difficult for the uninitiated.
Maybe, maybe not.
Many webpages make the act of applying varnish to a project (large surface or otherwise) seem like an incredibly difficult, multi-faceted, expensive, process - one for which you'd better not have anything else going on in your life because you will be spending ALL your time and energies varnishing! Applying varnish to a project can be tricky - but doesn't have to be overly difficult. It is a basic workshop skill like many others (painting, for example). Anyone can get a decent covering of varnish on their project with a little (or a lot of) practice.
I'm going to give a run-down of my process for varnishing a small-medium sized horizontal surface (if you're lucky I might say a few things about vertical or complex surfaces). I'll be using a brush to apply the varnish in my example - although different forms of wipe-on polyurethane varnish exist (a topic for another post). I'll try and keep my comments short, useful, and relativity non-judgmental.
First of all, I'm assuming you've got your horizontal surface ready to go - and that the piece is ready for 'finishing'. My earlier post about Lumber and Timber has this to say about finishing: "Once assembled, the final part is the task of ‘finishing’ the lumber. When we say ‘finishing’ we’re referring to protecting and beautifying the lumber. Often this includes hours and hours of sanding for a nice smooth surface before applying any finishing agents."
Generally, a clean and sanded piece ready for varnish will be raw lumber or lumber that has been stained. Stain is a sealer that is often used to tint the lumber a specific color (i.e., plain pine lumber could be stained with red oak stain to bring out the visibility of the grain and add a lovely reddish color - somewhat similar to the color of actual red oak). Stained or not, the lumber must be clean and smooth in order to end up with an an equally clean and smooth varnish finish. Thus, it is a good idea to varnish your piece in a dust-free environment (or as dust-free as possible). I typically do my varnishing in the evenings - letting the dust in my workshop settle during the dinner break, and then allow the varnish to dry overnight with no chance I'll coat it with dust from working on other projects (varnish can take a long time to dry). Some craftspeople have an entirely separate area for finishing work (lucky bastards).
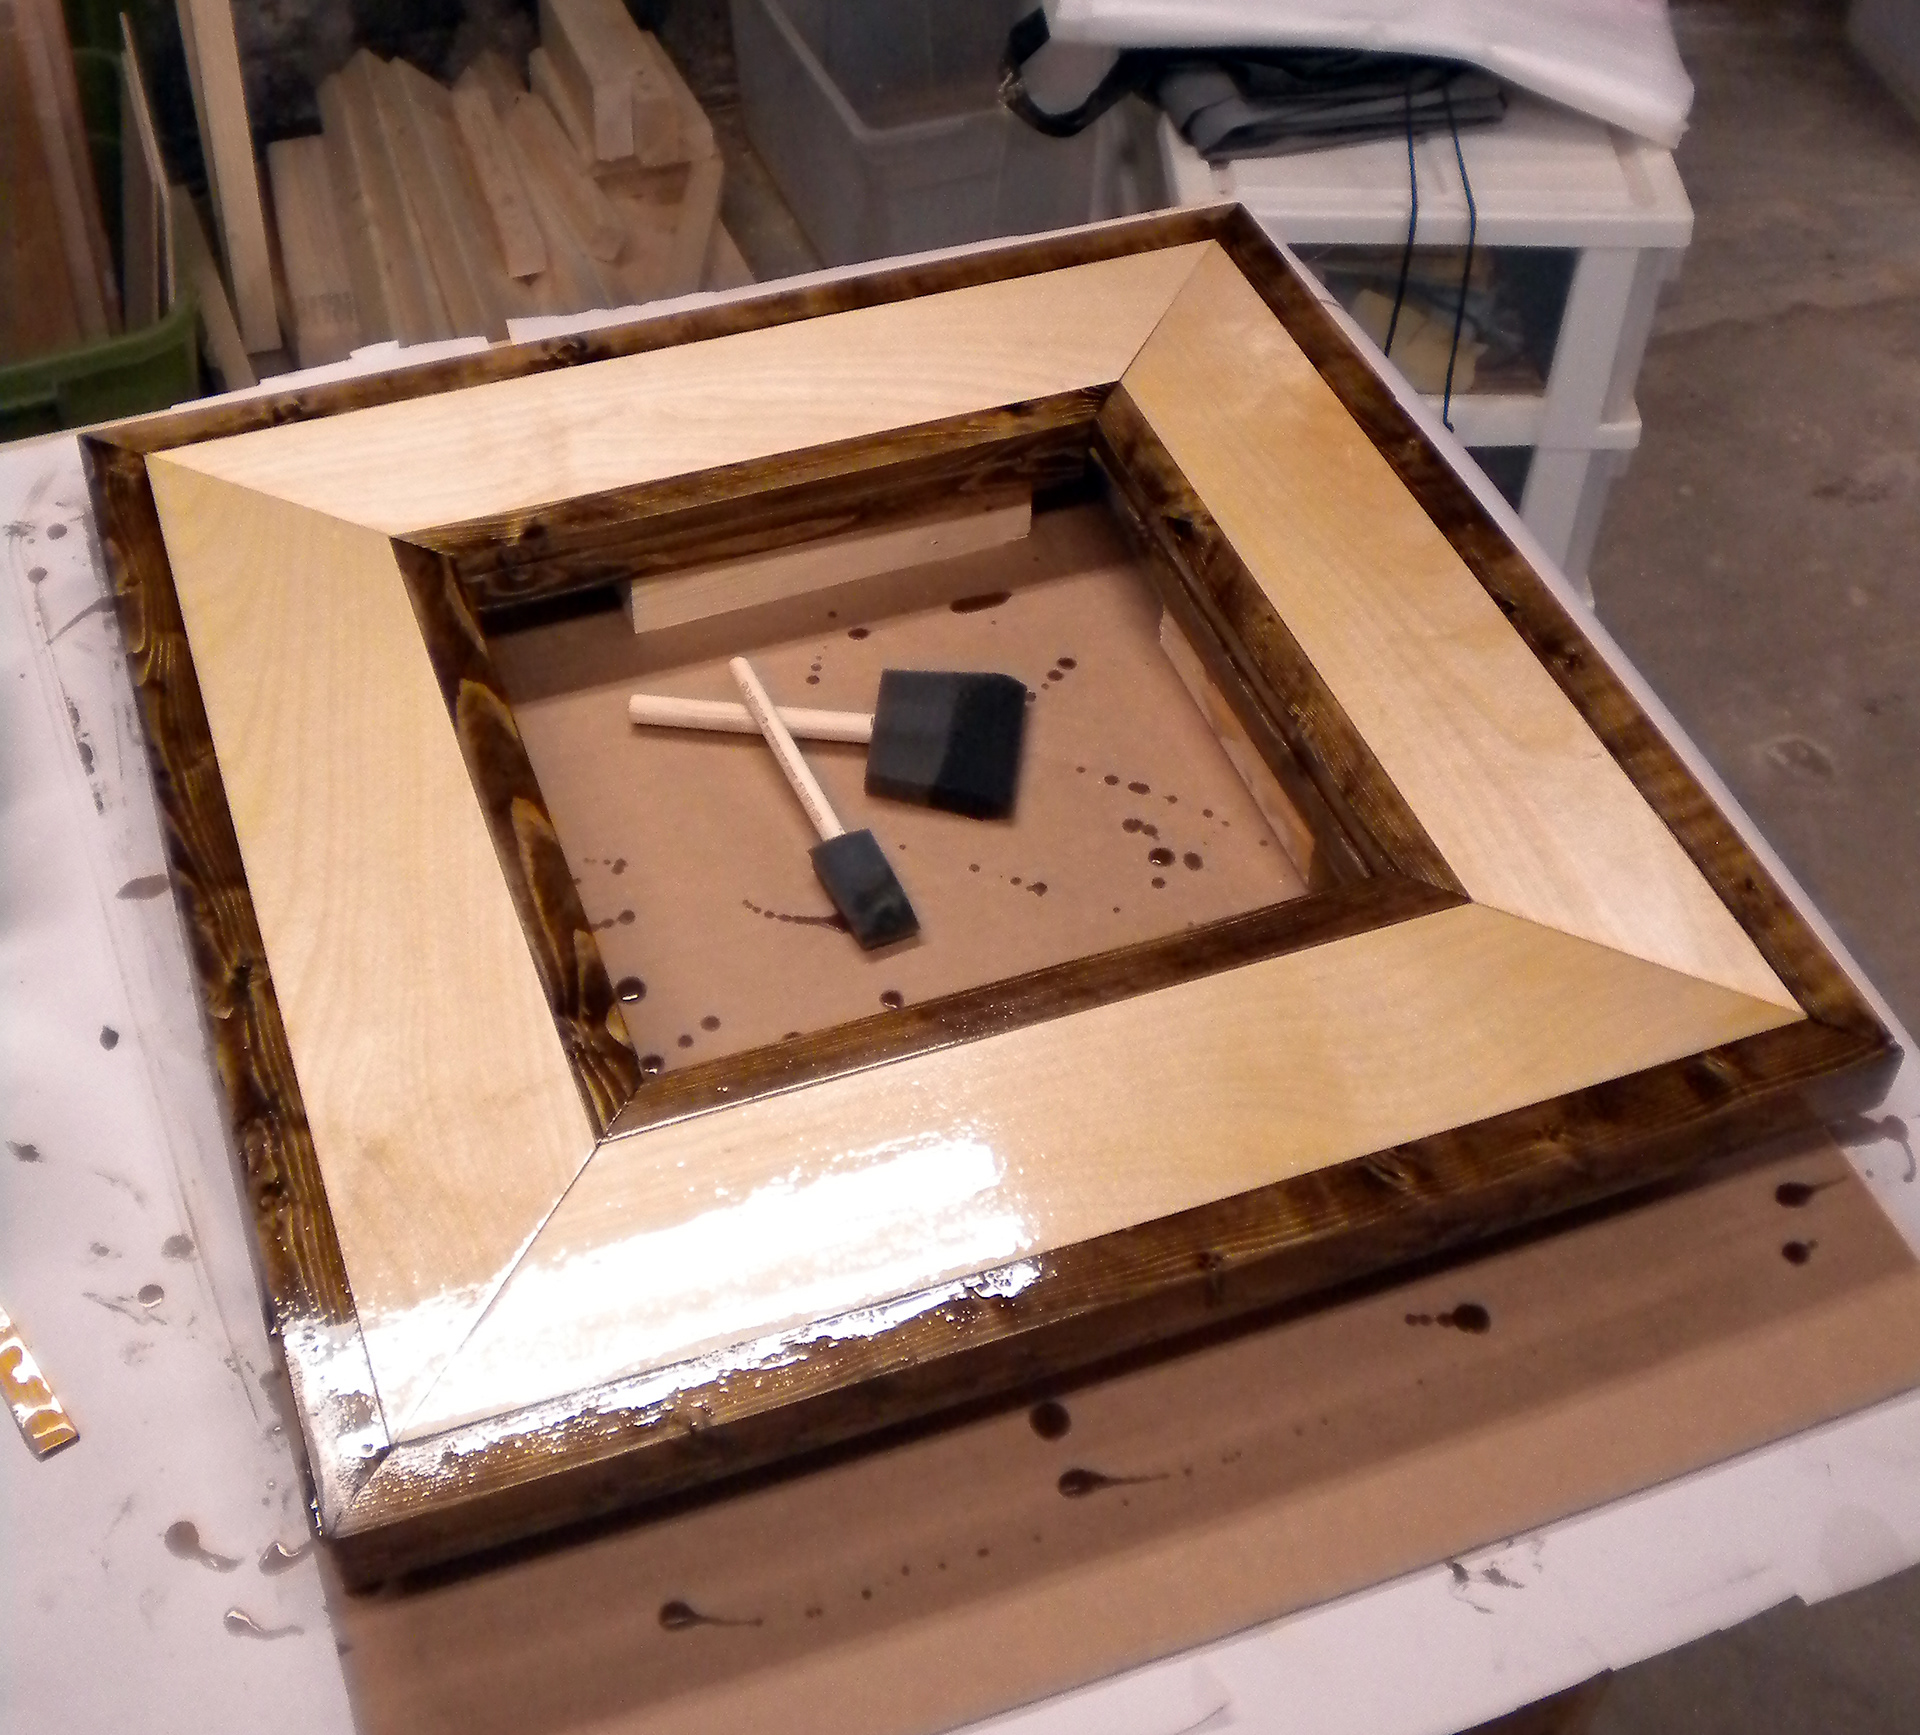
Once the work piece is ready to go, it has to be put somewhere.
Obviously a table or the like is what we're going for. Varnish will act like a glue, so have something under your piece to keep it off the table top - and lay down paper or cloth to catch the drips coming off the edges. Varnish is pretty nasty stuff to get on surfaces that you do not want varnish on (i.e.: the dining room table, the living room rug, the family pet, etc.) - so protect other surfaces! We also have to protect ourselves. Nitrile gloves are great for protecting your hands from sticky varnish. Don't use latex gloves with most varnishes (they will melt - seriously). Work clothing is also a must - varnish doesn't wash out. And lastly, you should protect your lungs - most varnish is solvent-based, and full of excitingly nasty fumes. Wearing a respirator and/or varnishing in a very well ventilated area are musts. Try to avoid getting any varnish on or in you (skin contact, inhalation, or ingestion). ...Don't eat the varnish. I'm mostly talking about oil-based polyurethane varnishes. While some varnishes claim to be safer (i.e., water based), it is still a good idea to adopt safe practices.
Now we have to pick our specific varnish and associated tools. As I said earlier, I'm mostly discussing oil-based polyurethane, and since it is a solvent (remember the melting latex gloves?), we have to use an appropriate brush with which to apply it to our work. As I discovered online, most of aforementioned members of the 'evil Varnish Cabal' tell you to use a nice natural-bristle brush to apply the varnish. While that isn't bad advice (and at the risk or upsetting the Varnish Cabal), you might be better off using a disposable foam brush rather then a bristle brush. Let me explain with a handy list of Pros and Cons:
Natural-Bristle Brush:
Pros: Holds a lot of varnish / Available in various sizes / Natural bristles won't be melted by varnish
Cons: Expensive, Difficult to clean / Can lose random bristles (which can stick to your project)
Pros: Holds a lot of varnish / Available in various sizes / Natural bristles won't be melted by varnish
Cons: Expensive, Difficult to clean / Can lose random bristles (which can stick to your project)
Disposable Brush:
Pros: Inexpensive / Disposable, Available in various sizes (can be cut to a specific profile) / Holds a decent amount of varnish / No bristle brush marks
Cons: Disposable (see below) / Incorrect type can be melted by varnish
Pros: Inexpensive / Disposable, Available in various sizes (can be cut to a specific profile) / Holds a decent amount of varnish / No bristle brush marks
Cons: Disposable (see below) / Incorrect type can be melted by varnish
Some people see the disposable nature of the foam brush to be a negative factor - and claim it is more environmentally friendly to wash out a reusable brush. However, the bristle brush must be washed with solvents to clean out all the varnish (and is often soaked in solvent) - not an environmentally friendly activity. In fact, the amount of solvents needed to manufacture a number of new foam brushes is much less then what a typical person would use to clean out one bristle brush.
The best foam brushes are made of polyurethane (the same material that makes up the varnish - hence, no melting). I certainly won't say bristle brushes don't have their place, but give me a disposable foam brush any day. I can varnish a project, toss the foam brush, and move on to designing a new project while a bristle brush would still be soaking in solvent in preparation for cleaning! Since most projects will need to be varnished multiple times, using disposable foam brushes adds up to a lot less clean-up time.
Varnish typically comes in a metal can - and depending on the size of the can you have, it might be a good idea to pour some (after gentle stirring - don't shake a can of varnish) into another container - making it easier to dip your brush, and avoiding contaminating the original varnish. Truth be told, I rarely follow this off-told piece of advice. I usually buy quart-sized cans and dip my brush directly into them. A medium size project (a chair, for example) is going to use up most of the can over three or four coats anyway, so the can is not going to be uncovered long enough for a sufficient amount of important chemicals to evaporate and make any difference in the varnish quality.
As mentioned earlier, it is important to gently stir the varnish before you apply it to your project - especially if the can is new or has been sitting for a while. Elements in the varnish will start to separate (much like paint) and must be mixed together. Shaking a can of varnish is generally frowned upon (unlike shaking a can of paint - which is smiled upon). Many people will tell you that shaking introduces bubbles into the varnish that can get onto the surface of your project and mar it. Excess bubbles forming on the work are a concern - but are caused more by brushing technique. And regardless of technique, small bubbles will always form on the surface of the project - but typically dissipate as the varnish dries or as they are brushed over (more on that later). So if your can of varnish gets a bit shaken up - don't worry about it too much.
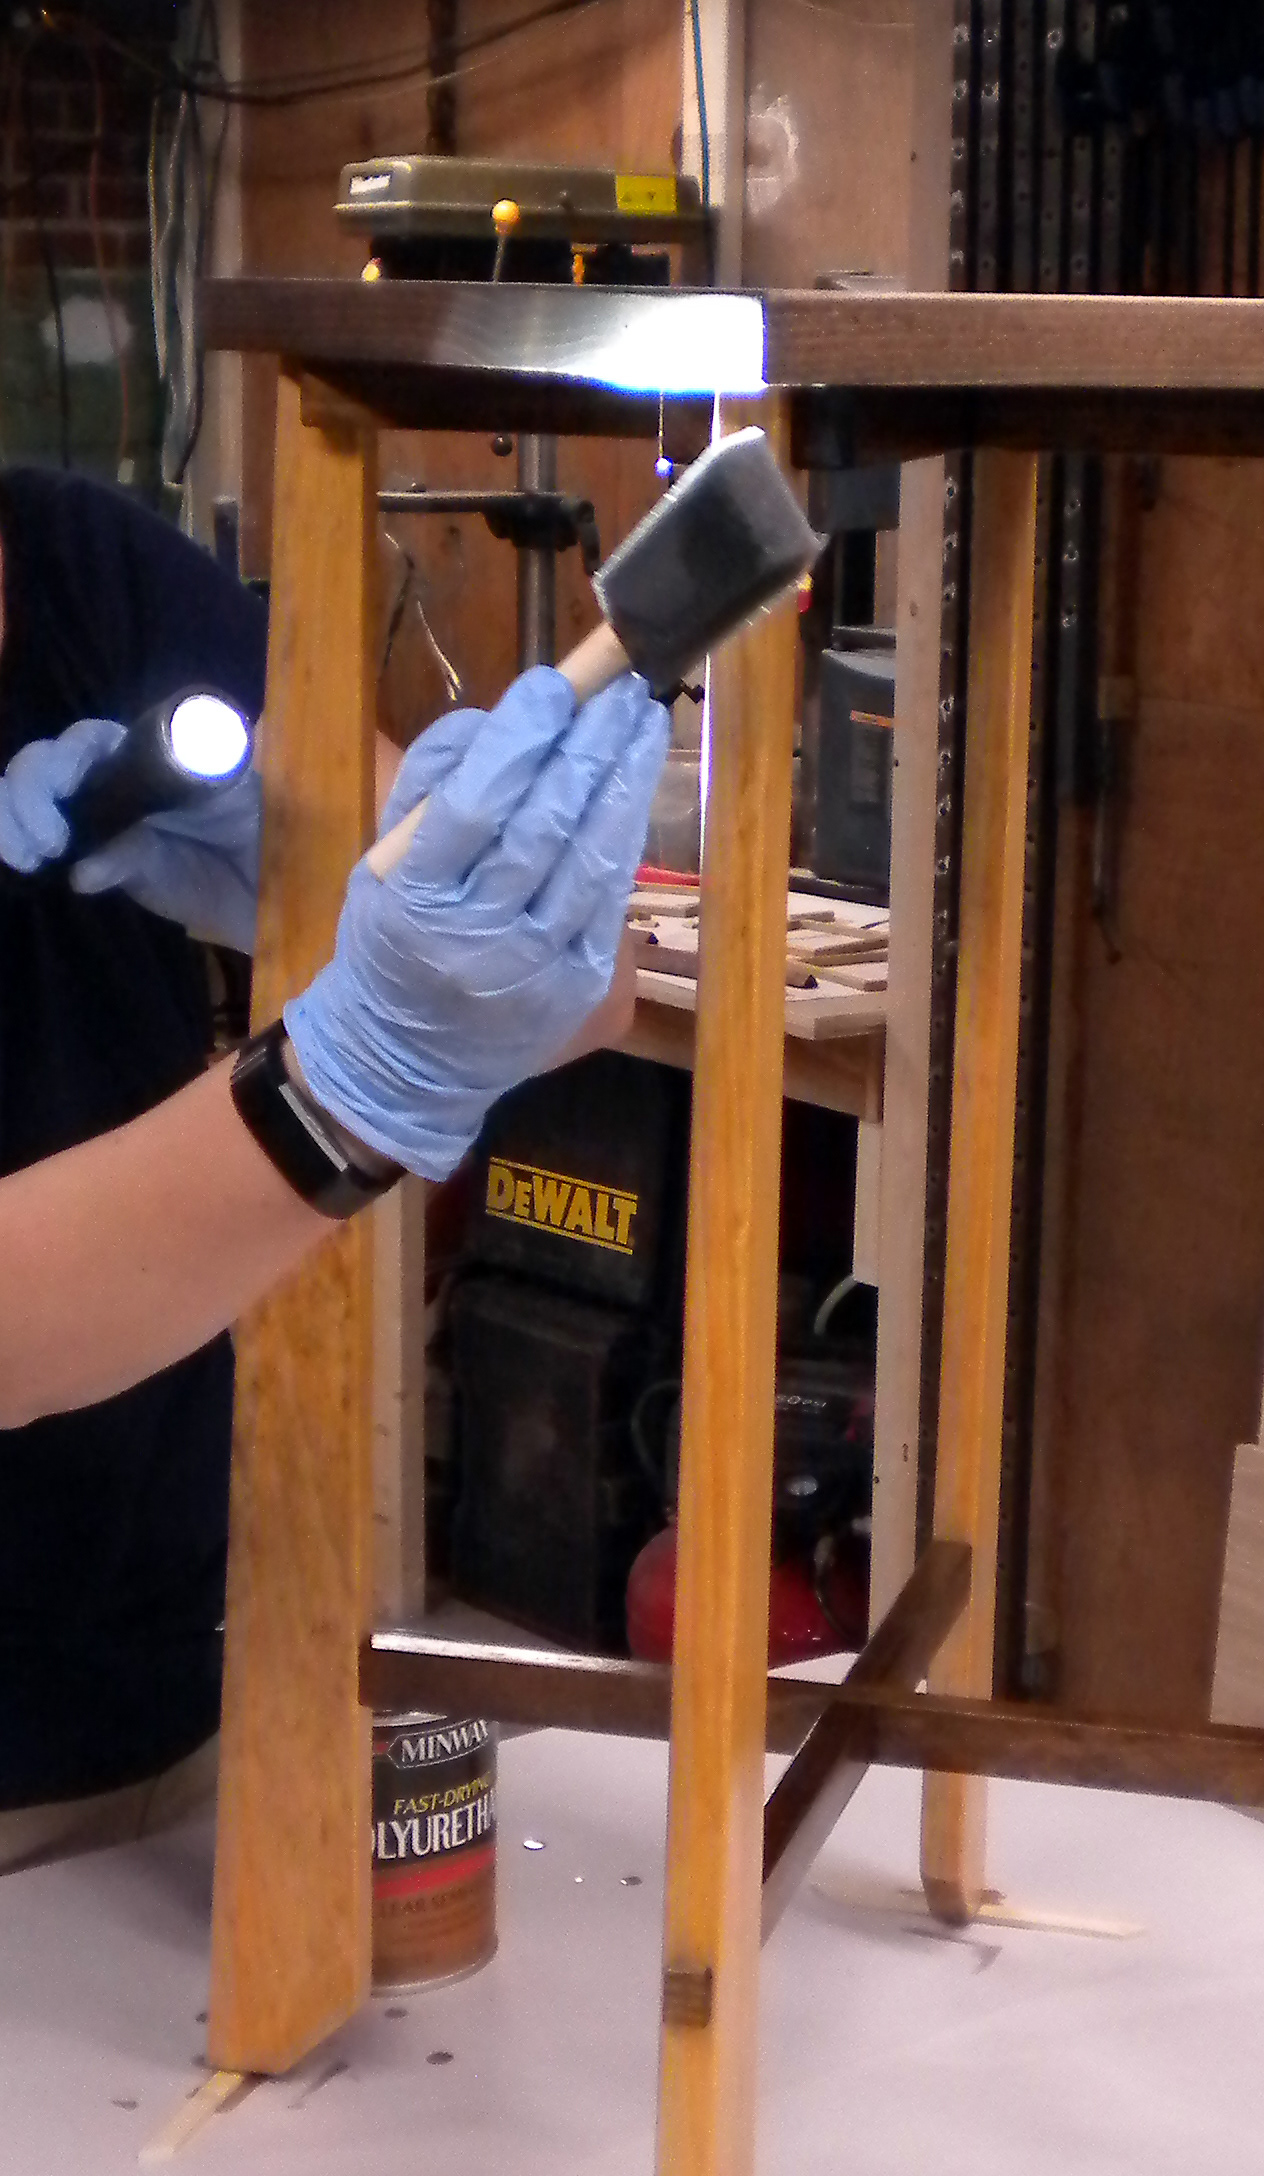
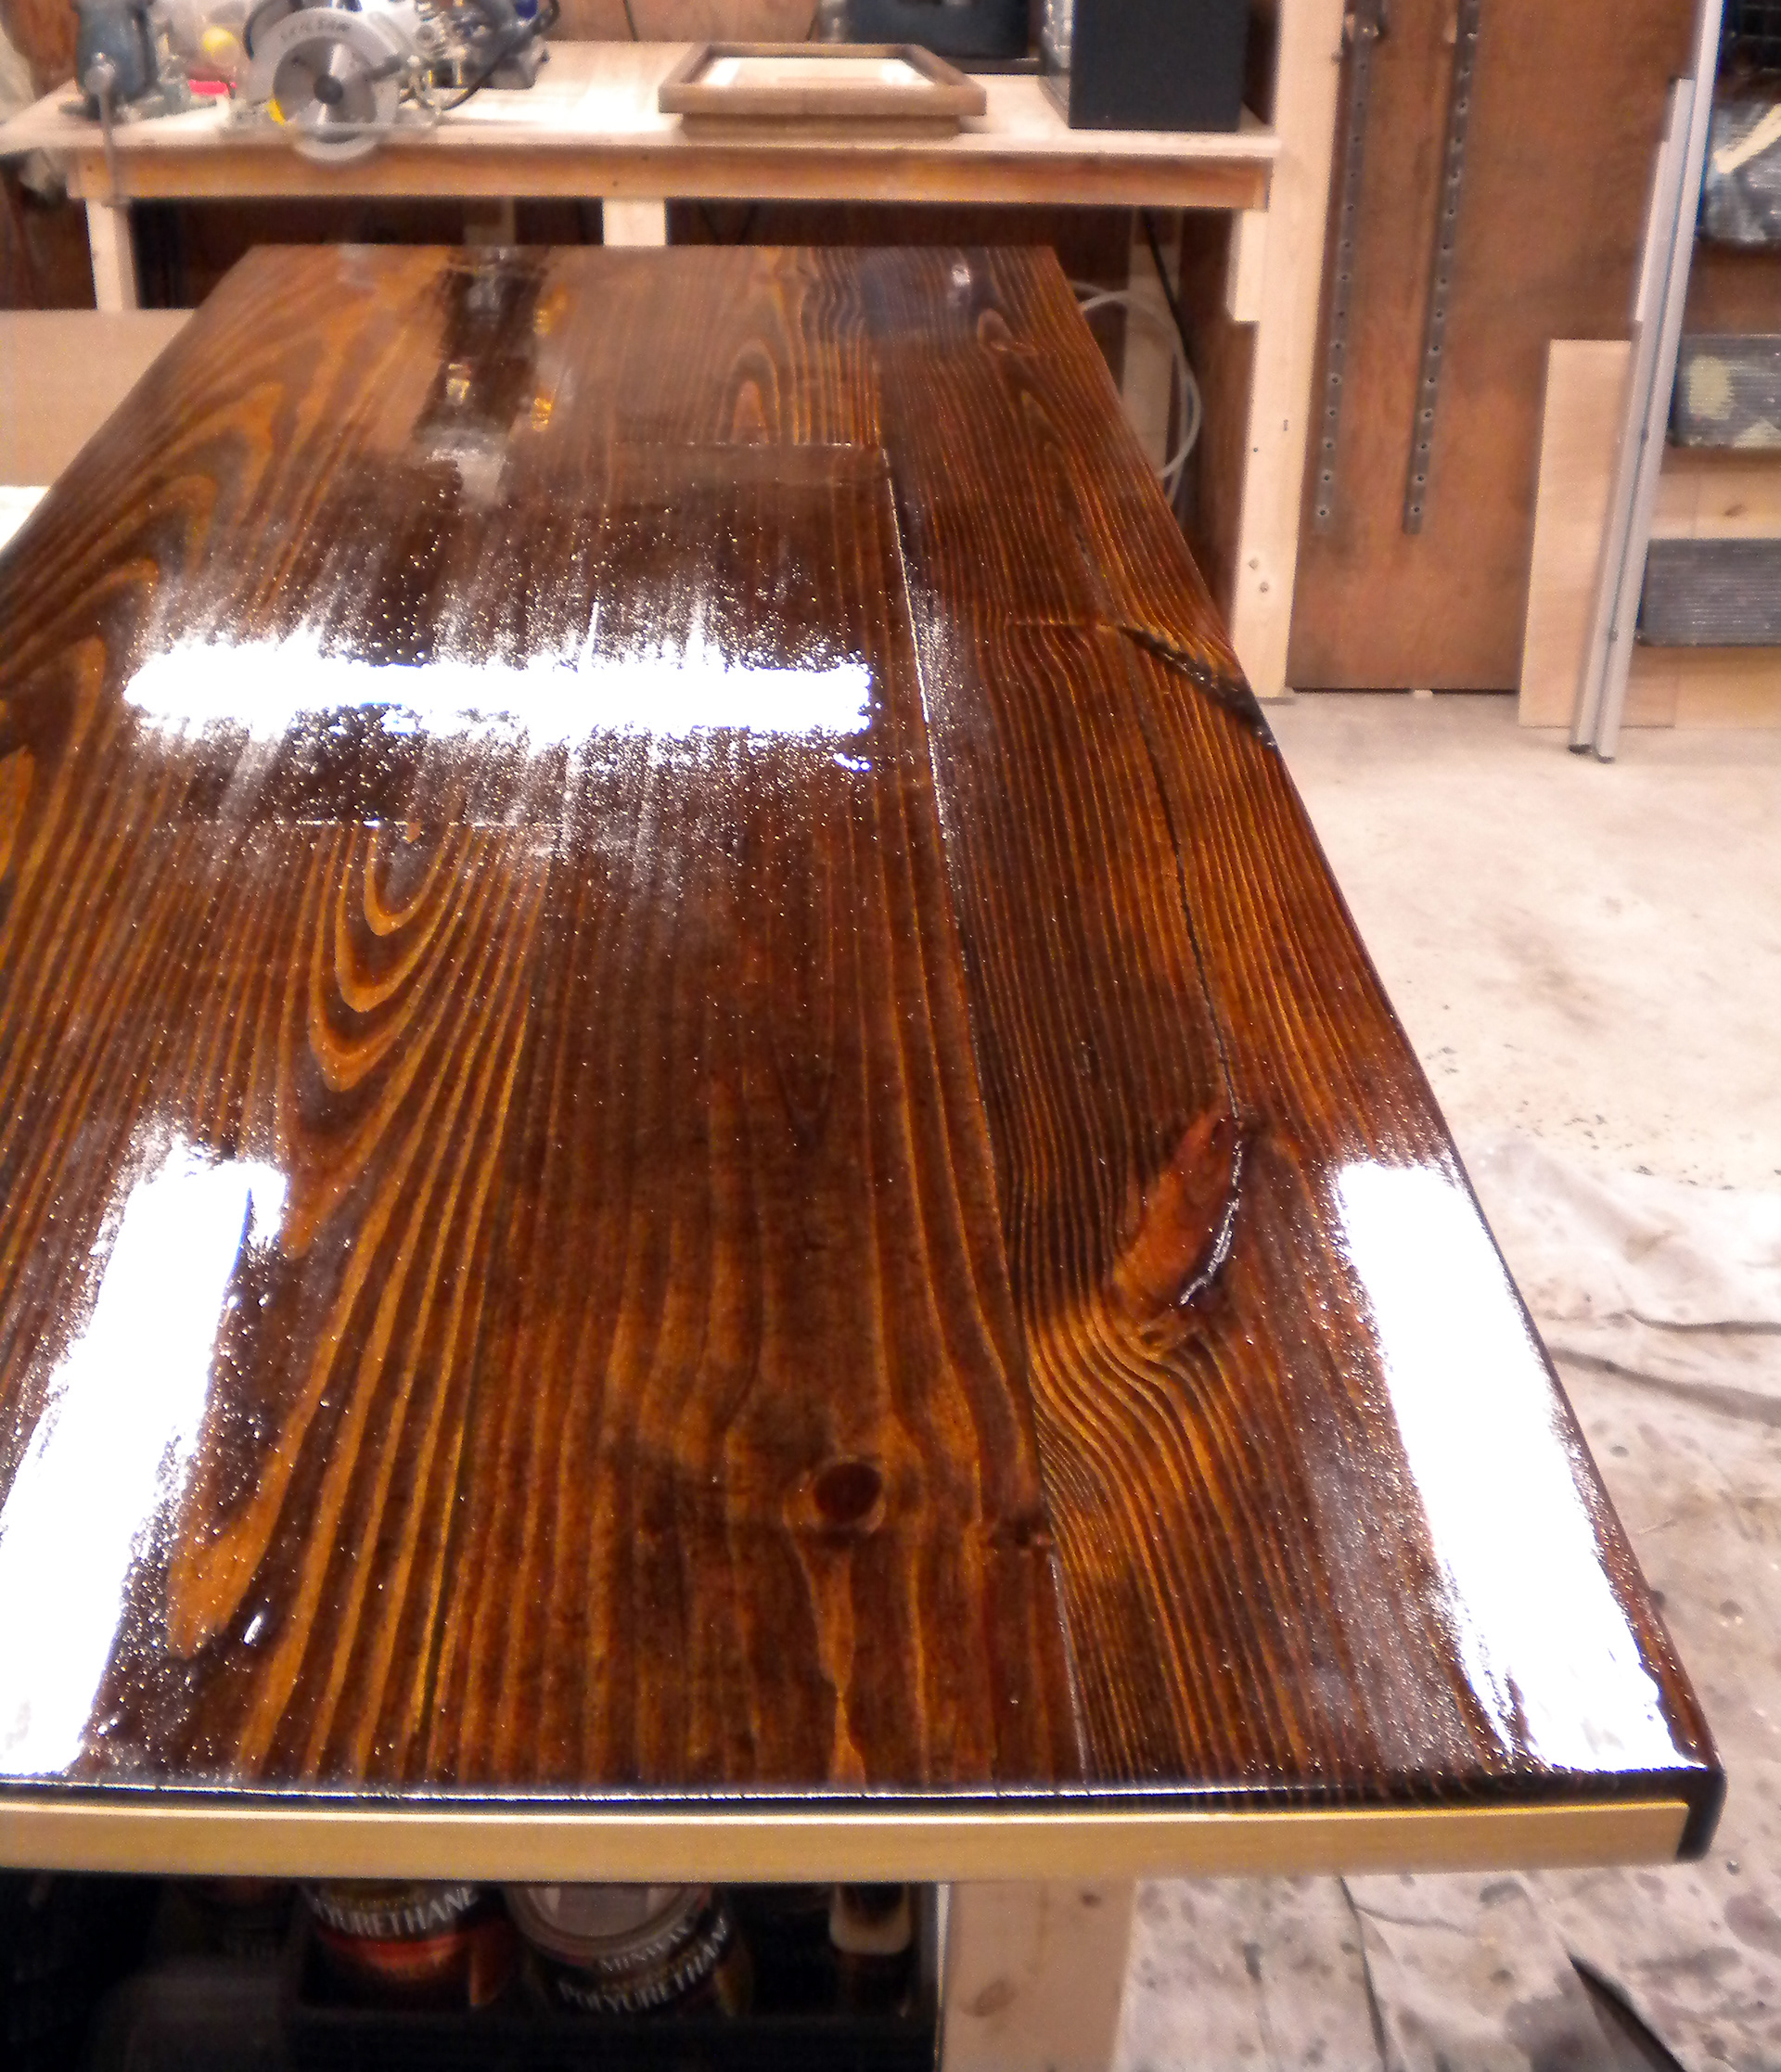
Ok, so my small-medium sized horizontal surface is ready to be varnished, and I have my equipment set (brushes, varnish, safety equipment). We're almost ready to go, but we need to consider the lighting shining on the work piece. Overhead light is great - but when varnishing a flat surface, there needs to be a light set up to shine across the work piece from the side. This will make it easy to see reflections off the surface - and easily spot areas you've missed, flooded spots, foreign material in the varnish (like a bristle from the bristle brush you may have unfortunately decided to use), drip marks, etc. Some people like to carry a flashlight around in one hand to bounce light off the varnish - allowing one to check for problems on all surfaces. The flashlight is more valuable when varnishing a complex object - a flat object is easily checked with the aforementioned light setup. Although, I always carry a flashlight around with me (regardless of project size / shape) while varnishing - just in case.
At this point, actually applying the varnish seems like something of a let-down...
But onward we go.
Dip the brush into the varnish just enough to avoid dripping - and gently start to paint the varnish along the surface of the work piece. Varnish will begin to dry quickly, so it is important to work somewhat fast - keeping a 'wet edge' of varnish as you work your way from one side towards the other. Varnish isn't like paint - you can't brush back and forth repeatedly over the same area without creating problems like bubbles (as mentioned earlier) or brush marks. What works best is laying down a line of varnish - and carefully brushing back once(ish) along the fresh varnish. This helps clear uneven varnish, and can remove some of the small imperfections formed from the action of brushing.
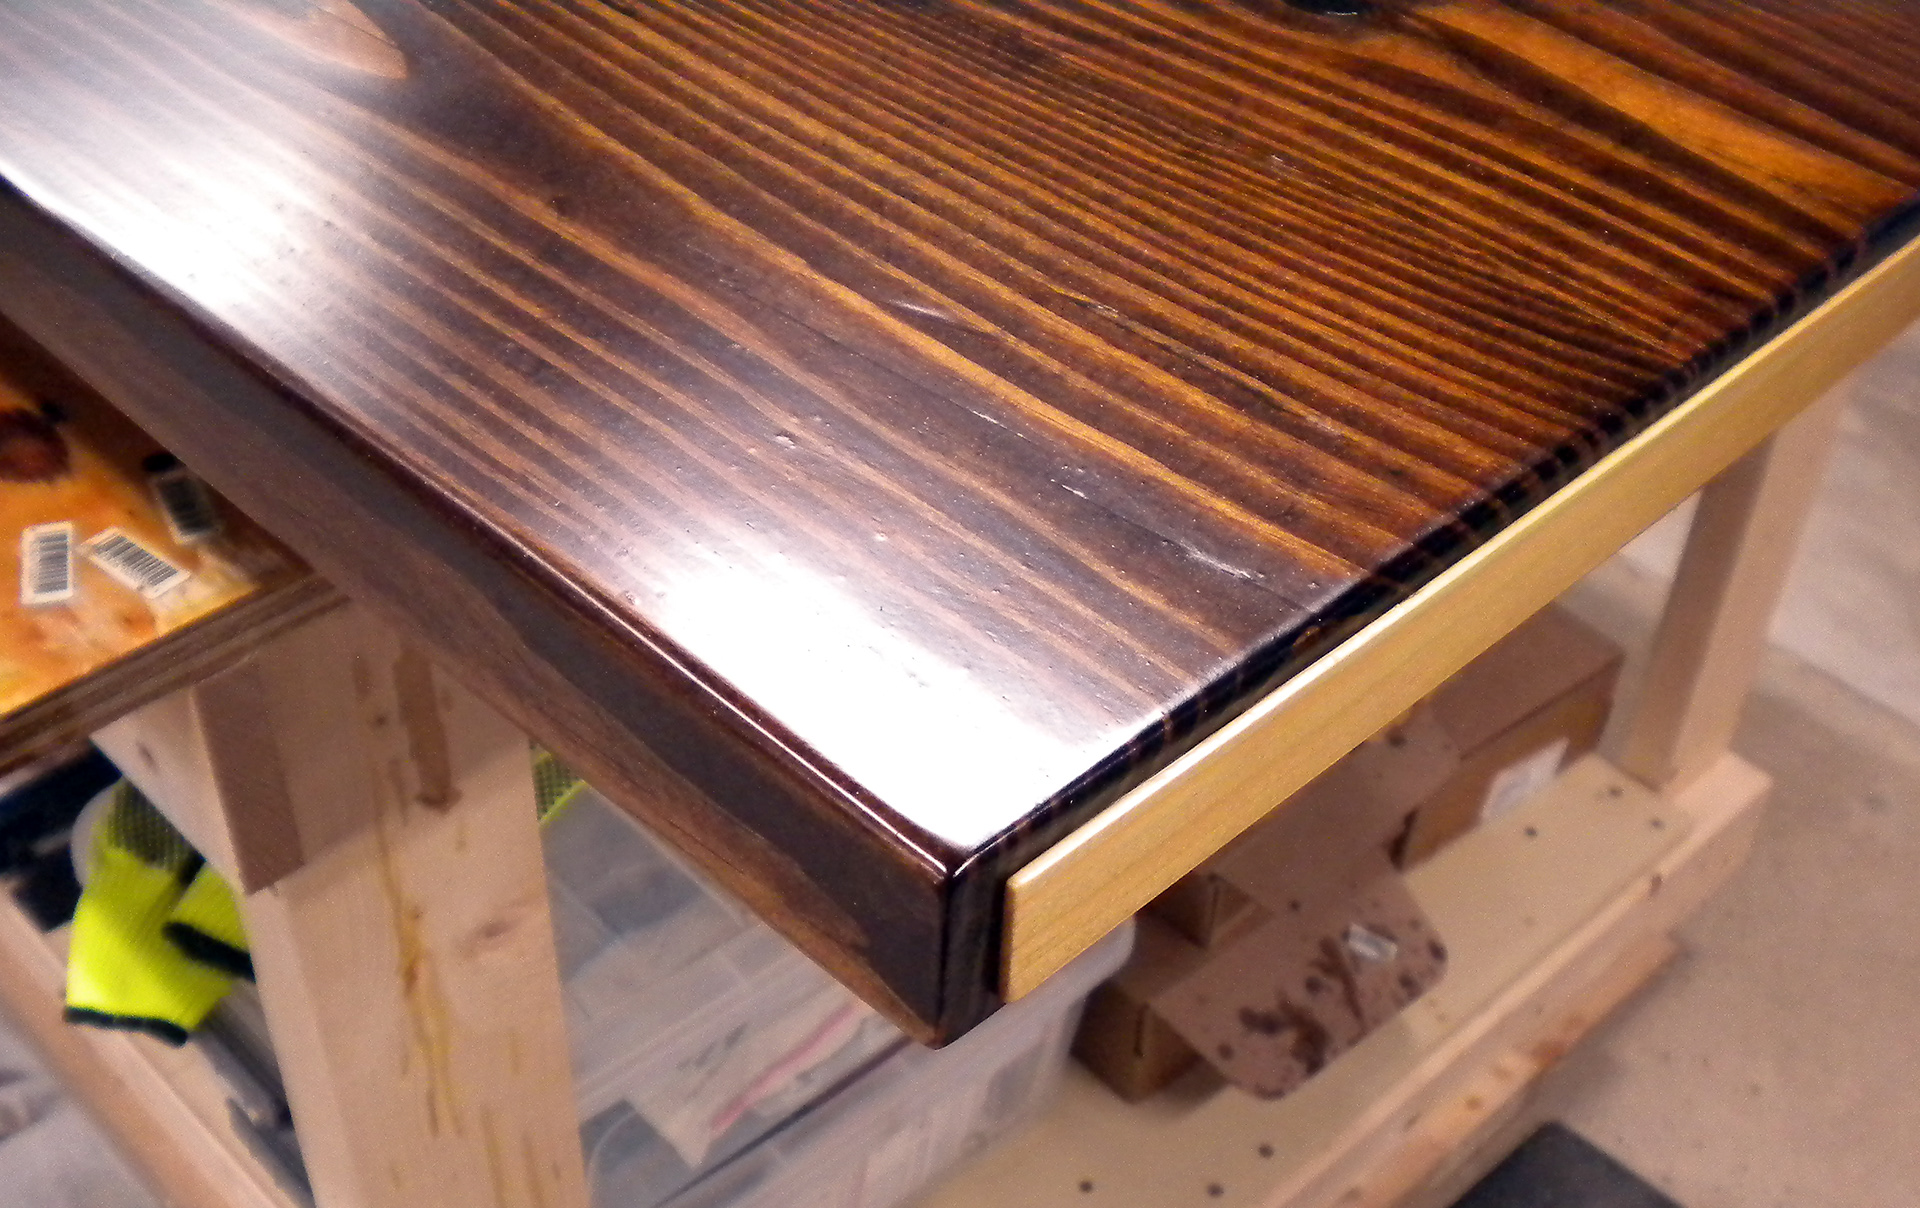
Don't be afraid to let the excess varnish drip off the edge of your work piece (Oh, did I mention laying down drop cloth, or otherwise protecting your space?). Ideally, you'll brush on the varnish fairly lightly - thin layers of varnish are much less likely to give your problems. Once the piece is varnished, you use the sidelight to check for pools or missed spots (which you can touch up if things are still wet). If it is too late to fix a mistake (the varnish is starting to get tacky) leave it alone, and fix it with the next coat. Don't forget about your edges (if applicable).
The overall look you're going for with the work piece will dictate how many coats of varnish you apply - but it will be at least three. Some people online claim to apply 7 to 10 coats before they are happy. I'm usually happy with three. So long as you're happy with the look of the piece, however many coats you want is fine (and don't let anyone tell you otherwise).
After any coat of varnish, you need to let it dry before applying another coat or calling it finished. So, don't move it - and make sure it gets plenty of ventilation to aid drying (using a dehumidifier works well to dry the air and speed varnish dry times). Do not point a fan at it - you're liable to blow dust from the air directly into your wet varnish.
Before subsequent coats, you need to LIGHTLY sand the surface of the piece with fine sandpaper (320-or-so grit) - getting rid of any pesky varnish imperfections and allowing the next coat of varnish to better stick. The piece will look weird after being sanded - but will look fine after the next coat of varnish is put on. Please remember to carefully wipe off all sanding dust before varnishing!
Generally, the first coat of varnish soaks into the wood - and the piece is pretty rough after drying. However, after the second coat, things really start to smooth out as the varnish fills all the tiny imperfections in the wood. The third coat is often very smooth (hence why I usually only do three coats). You shouldn't sand after the last coat, but you can lightly buff the finished varnish to get a bit more shine.
Varnishing a complex object with multiple horizontal and vertical surfaces has added complications. Varnish is thick, but will still drip/run if too much is applied to a vertical surface. This is where the side light and/or flashlight really comes in handy - looking at the reflections off of the vertical surfaces to smooth out any drips.
Unfortunately, since the varnish starts to get tacky so quickly - it is better to try and avoid drips then to try and smooth them out once they happen. Varnish can also get trapped in a seam or groove - and cause slow drips after you thought you were done with that section and have moved on. You need to be very diligent with a complex surface and constantly check previous sections for drips and other imperfections.
It can be quite intense and sucky. Thankfully, drips can be somewhat sanded out flat once that layer has dried - and the next layers will help hide them.
While I have tried to keep my process fairly simple and straightforward - I realize I may have ended up guilty of writing a blog post as confusing as others out there.
However, I'm hoping some of the the 'tips and tricks' I've discussed will make it a useful read. Varnishing doesn't need to be difficult - and if I've made it seem so, just start a project and start experimenting! The best teacher is experience (practice, practice, practice).
And if you'd like - drop me a line with questions.
(I promise I'm not a member of the 'evil Varnish Cabal'.) :)
(I promise I'm not a member of the 'evil Varnish Cabal'.) :)
-Lia
Contact Me
My Writings (Transgender Woodworker content)
Artfully Functional (my studio)
LiaZero.com (all my online content)
My Writings (Transgender Woodworker content)
Artfully Functional (my studio)
LiaZero.com (all my online content)